 |
Spoiler Warning! This page contains information that could reveal plot secrets or ruin puzzles! Read with caution, or not at all! |
| Tomb | Location | Hammer | Needed to Access |
|---|---|---|---|
| Mirrors | Lower-left | Lightreaver | Nothing |
| Flames | Lower-right | Flamebringer | Blue Key |
| Sparks | Upper-left | Sparkthrower | Red Key |
| Darkness | Upper-middle | Planetsmasher | Green Key |
| Din | Middle-left | Earsplitter | Planetsmasher |
| Bones | Upper-right | Bonecrusher | Sparkthrower |
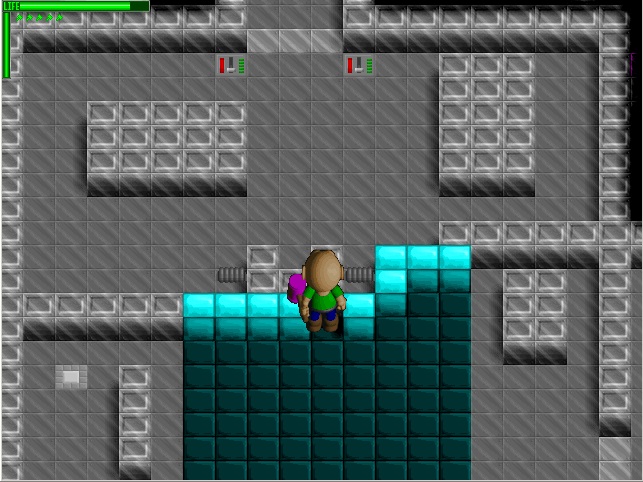
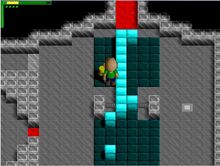
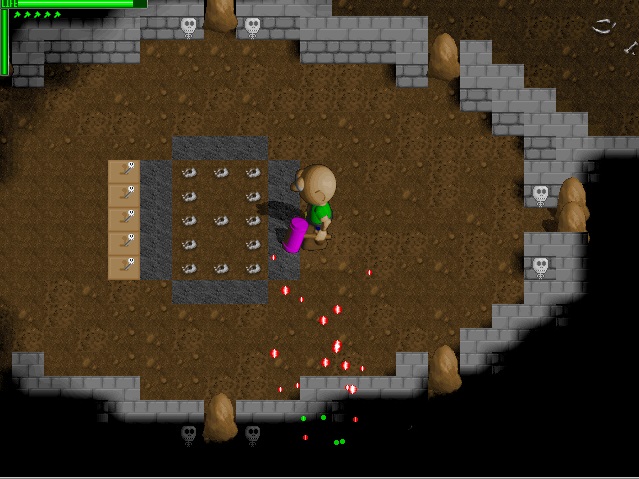
1.To access the room to get the Flamebringer in the Tomb of Flames, push the clock hand in this room to 4.

2. To access the room to get the Planetsmasher in the Tomb of Darkness,you need to flip three switches which are barred behind 3 puzzles.
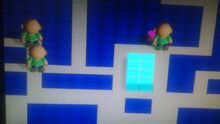
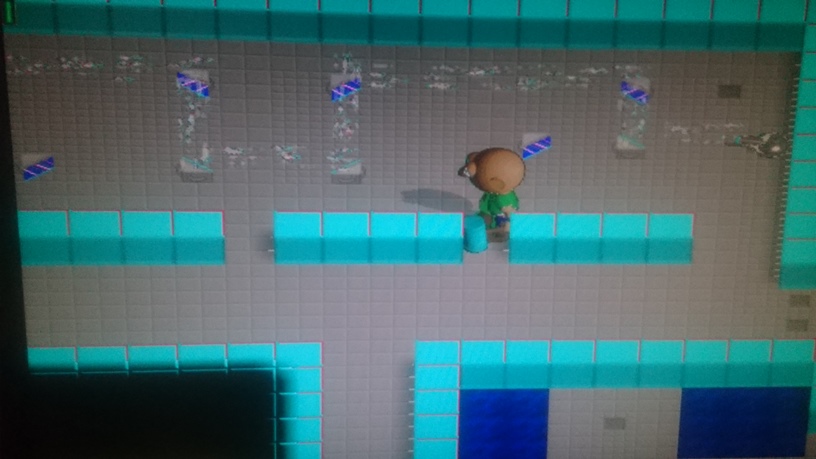
A. After fumbling about the Maze of Insanity, you will have to get through a section with "The Darkness" enemies, before arriving at a shortcut switch back to the main hub and a room with water in the center and a yellow door,go towards the right to this puzzle and solve it as shown below.

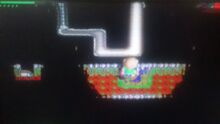
B. You will need the Flamebringer to light up the watery room full of LazyBones to make it to the exit where a hittable lamp is,hit it and the water will be gone and it will light up.
Then, proceed all the way down to this puzzle and toggle it to OPEN. Hint: NODM


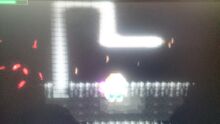
C. You need to proceed to the left bottom and carefully navigate past the lazering turret into a room where this puzzle awaits.
Now, this is where this is one of the most annoying puzzles ever made. I really hope you have at least gathered 10 candles and bought the Solar Collector.
If it wasn't already obvious, you need to be able to use the Flamebringer to shoot out the smoke pellets to light your way around. The Solar Collector allows you to regen energy needed to do that even if you run out.


Once you have flipped all 3 switches, the Planetsmasher is yours for the taking.
3. Tomb of Mirrors is available at the start, but to access the Lightreaver, you need to break through two layers of Unbreakable "Stan" Glass.
The top puzzles are relatively should be simple to complete with some logic.
It's the bottom one with at the Lake of Reflection that is annoying and punishingly tricky.


But it's not over yet! You will have to solve this one more Lazer turret puzzle. (Please remember to open the gate into that room or you will have to go through the Self Reflecting Pool all over again.)


Lastly, solve The Black Box Puzzle to allow the lazers to blast through the Unbreakable "Stan" Glass and collect your Lightreaver!

5.To access the Tomb of Sparks, you need the Red Key, which is at Braka Lake walled off by a Lazer wall that needs the Lightreaver to get.
To access the Sparkthrower, you will need to activate 4 different Lazer turrets to be blasting at the chamber where it is held.
The first one is by going to the left from the tomb entrance to this puzzle.

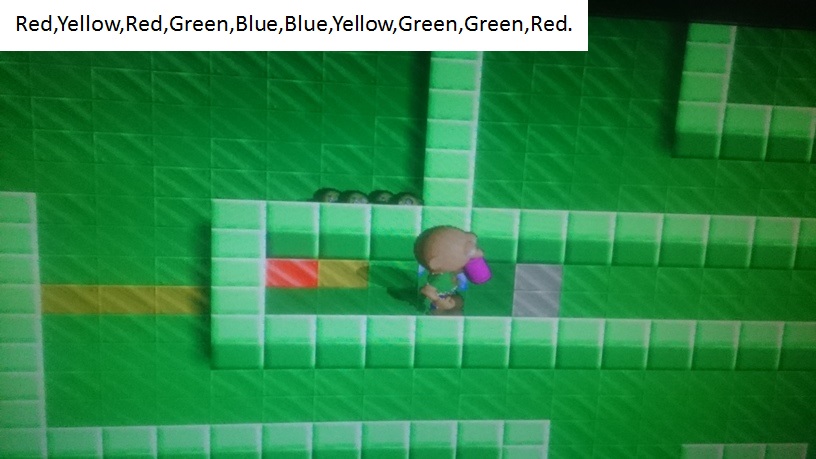
After solving that, you have to step on the green tile to go to this word puzzle. (Many thanks for the word combination,whoever who provided it here.) Please note once you solved it, you will be jumped by 3 Shocking Horrors.


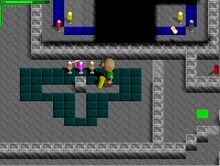
Next,you will have to solve this pushing 3 coils together to fill up meter puzzle at the top right portion of the level from the hub.

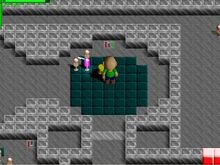
Next, at the top left portion of the level from the hub, you have this puzzle to solve.

Lastly, at the bottom right portion of the level from the hub,you have to solve this puzzle first....

....To gain access to this puzzle you need to solve to get the final Lazer turret working to unlock the Sparkthrower.


6.To access the Tomb of Din, you need to use the Planetsmasher on the purple tile from the side where you enter from the Sleepy Woods. You will enter from The Dumb Side and there exit out from there.
Yes,the front entrance has you surviving against "Roly Polies" and you have to kill alot of Beetle Nests to proceed on to the Colored Tiled sequence puzzles.


Next, you will need the Lightreaver to reflect and destroy the Lazer turrets blocking the passageway at the very left of the level entrance, then go inside the tunnel, where you will encounter two spiders that are needed to press switches on their end to let you through.
Use the Planetsmasher and suck them in the direction of the switch to force them to step on it and move on while watching for the Roly Polies, which will bring you to the next colored Tile puzzle.


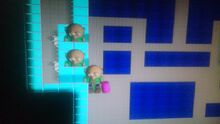
To explain how exactly this puzzle works, you have to step PERSISTENTLY on those four colored tiles,like an actual Dance Stepmania game, stepping to corresponding color pattern of the incoming tiles.
DO NOT STEP OFF THOSE TILES UNTIL YOU HAVE SOLVED ENOUGH BLOCKS.
Once you are done with that, go in and collect the Earsplitter.
6.To access the Tomb of Bones you need the Sparkthrower to light up all the lamps at Branka Lake to clear the rock that is obstructing the raft's path, so that you can proceed forward onto the next mass of land.
After that, you need to go all the way to the left into the Ghastly Graveyard from that end and you will yourself at the end where the Tomb of Bones general area is. Flip the switch outside the tomb to allow yourself entrance when in the general Ghastly Graveyard area.
Inside the Tomb of Bones, use the Flamebringer on an enemy to burn the hay blocking the path.Cross the bridge to find yourself at this puzzle.

.jpg)
Now, what you have to do here is to flip the Tiles to a number so that it unlock the entrance to the room you want, kind of like a "clock".
1 - Opens back the entrance you came here in, the left door.
2 - Opens the Northwestern door.
3 - Opens the top room where Big Head Todd awaits.(Tough enemy).
4 - Opens the Northeastern door where there's a number code puzzle awaiting and a candle hidden inside the room in the dark.
5 - Opens the right room where Big Head Rod awaits.(Tough enemy). Has a yellow key you can get from here in this room.
6 - Opens the Southeastern room where there are some enemies and a Candle and a Brain can be found.
7. Opens the bottom room where Big Head Maude awaits. (Tough Enemy.)
8 - Opens the Southwestern door.
Kill all 3 Big Heads, then exit out from 8,the Southwestern Door, you will cross a bridge over the mud and you will find your Bonecrusher there.